How To Resurface
Concrete

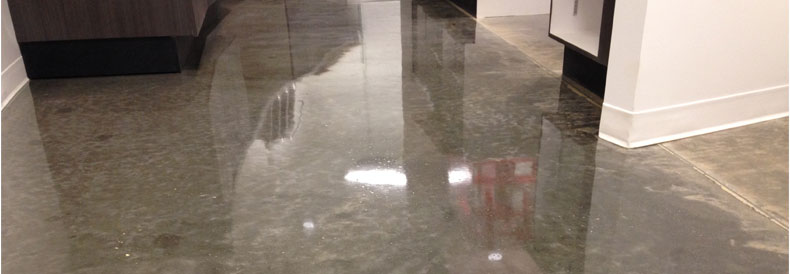
Concrete is one of the most common forms of flooring in both exterior and interior instances even if it’s just being used as a base to support another flooring. As we know, cracks, gouges, and stains are only a few of the plagues that can damage the curb appeal of your home or business. But, there is a project that can save you from these grueling circumstances and it is called concrete resurfacing. Today, we are going to be teaching you to resurface your own concrete so you can get those contractors off your back. So, let’s get started!
Cleaning Your Concrete

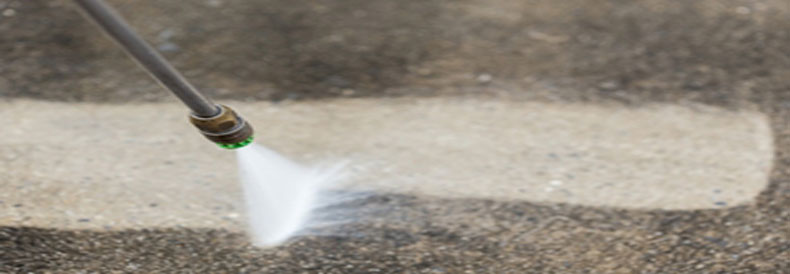
The first and most important step of the process is making sure your slab is as clean as possible. The cleaner you get your concrete, the better performing you can expect your micro-topping resurfacing agent to adhere to your existing concrete. There are fast and efficient ways to get the concrete clean without having to break a sweat and that is with a 3500 PSI pressure washer. But if you don’t have the luxury of having a pressure washer or the time and money to rent one, there are ways to get your slab clean. You can enlist the help of a stiff bristle brush, CLR or simple green and a garden hose to get your concrete clean. Make sure to get into the cracks in the concrete if you have any. Dislodging any loose debris will vastly increase the lifespan of your repairs and coating.
Preparing For Resurfacing

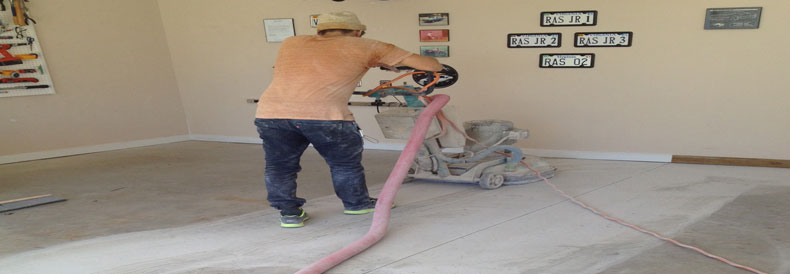
When you have made sure that your concrete is free of contaminants, it’s time to start repairing your concretes imperfections. To fill all cracks, there are epoxy fillers for interior concrete and concrete based fillers for exterior concrete. Make sure to overfill the crack just a tad, fillers are known to shrink and if not enough material is present, your material won’t be level with the concrete. Use a sponge while the material is still wet to remove any sharp edges on your repair. Allow the material to dry and use a garden hose to wash down the concrete slab once more before starting to mix up your micro-topping for the full project. Now it’s time to make the magic happen, just make sure the slab is dry before application.
Applying The Topping

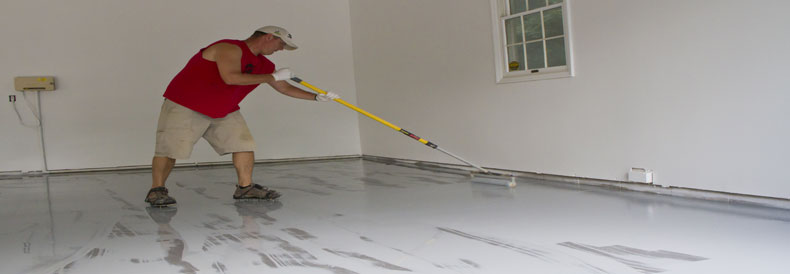
The installation of your resurfacing agent is where many homeowners decide to throw in the towel. The process can be hard to grasp and you will need a few different tools. Here’s what you should have on standby in terms of tools: for smaller areas, all you may need is a trowel but for larger areas, you are going to want to have a squeegee on hand. Concrete edgers can also show their worth if your concrete will maintain its expansion joints or if you don’t wish to work with expansion joints, don’t fill them you can use weather strips to avoid cracking. Taking your time won’t only save you a headache, it will save you time in the long run. Try to make the topping as smooth and as level as possible for the best finished product.
Now that you know how strenuous installing your resurfacing agent can be you have a decision to make. Many homeowners make the call to enlist the help of a professional contractor for this process and we can’t blame them. A contractor will know what is the best material to use, proper repair methods and offer a warranty on all of their work. No matter what you decide to do, we wish you the best of luck on all of your home renovation projects to come!

